
Slideshows: A Step-by-Step Guide
Now you can create slideshows in addition to uploading single images! The user interface remains the same, allowing you to quickly create slideshow posts with just a few extra clicks. Here’s how to get started:
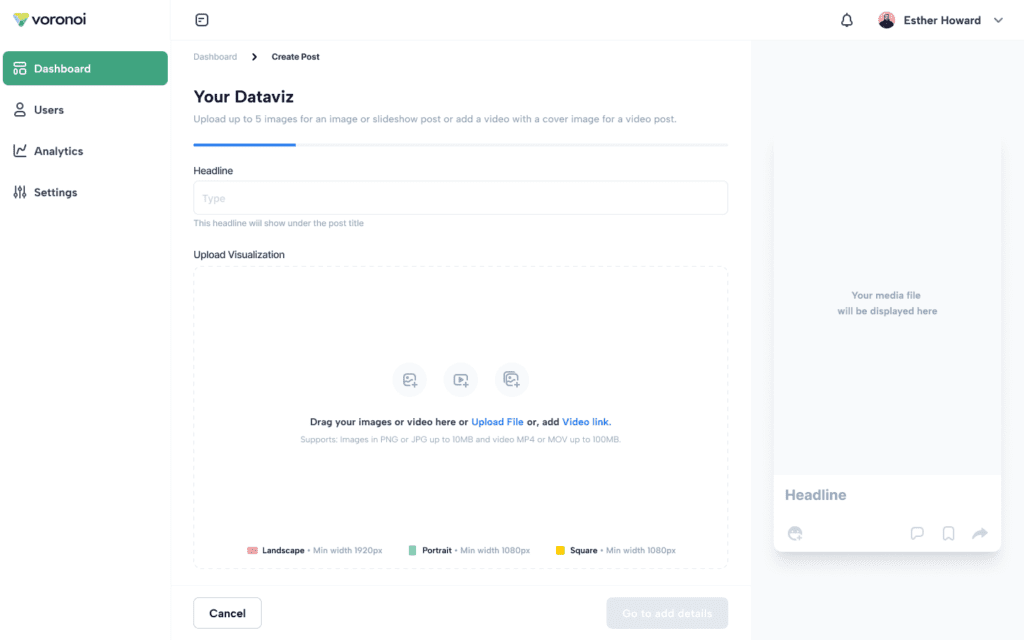
Step 1: Create a New Post
Click “Create Post” and upload an image of your visualization.
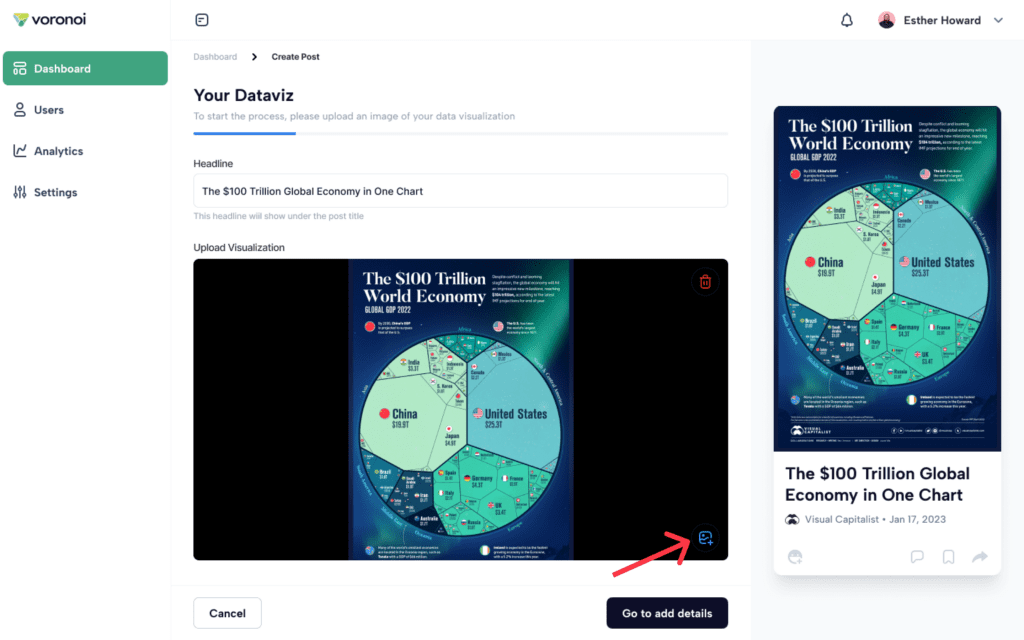
Step 2: Add More Images for a Slideshow
To add additional images, click the blue image icon in the bottom right corner of the main image. You can upload up to 5 images per slideshow.
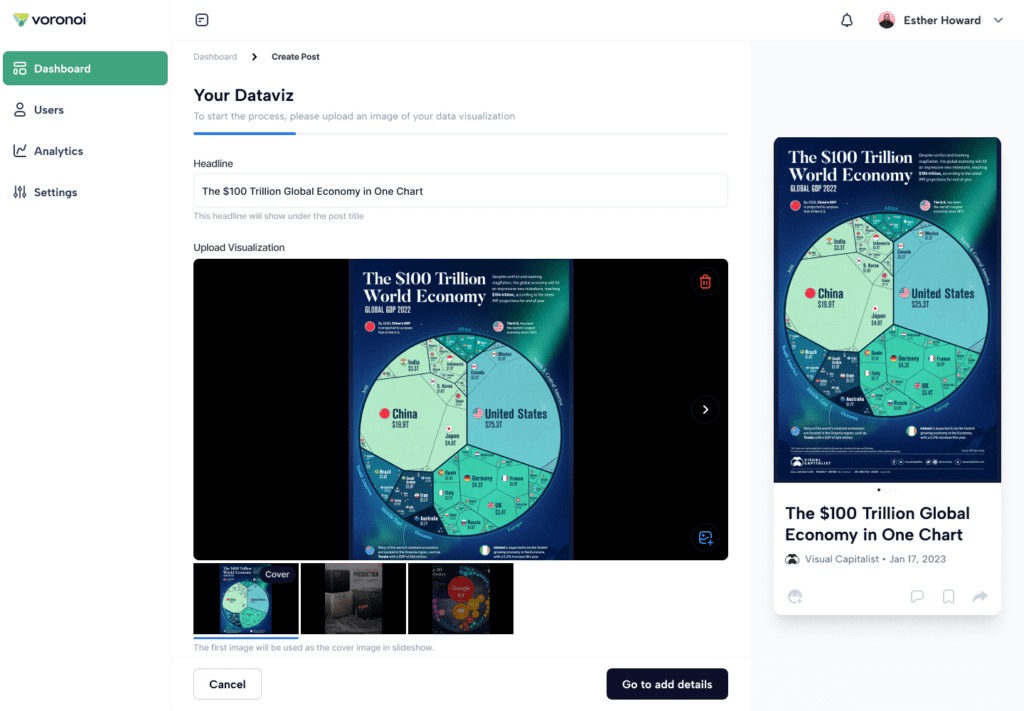
Step 3: Rearrange Your Images
Once you upload multiple images, thumbnails of the uploaded images will appear below the primary image.
You can drag and rearrange the thumbnails to set the sequence of the slideshow.
The first image in the strip will serve as the cover image for the slideshow. Rearrange the thumbnails if you want to change the cover image.
Step 4: Adjust Image Sizes
You can also resize any image within the preview window, consistent with the existing image preview functionality.
Step 5: Finalize Your Post
Click “Next” to proceed to the post details, just as you have done before.
Important Tips
- Keep your slideshow images consistent in aspect ratio for a clean and professional look.
- Ensure all slideshow images are in the same file type (e.g., all JPEG or all PNG).
Now, it’s even easier to showcase your data in a compelling way on Voronoi. We hope you enjoy this new feature.